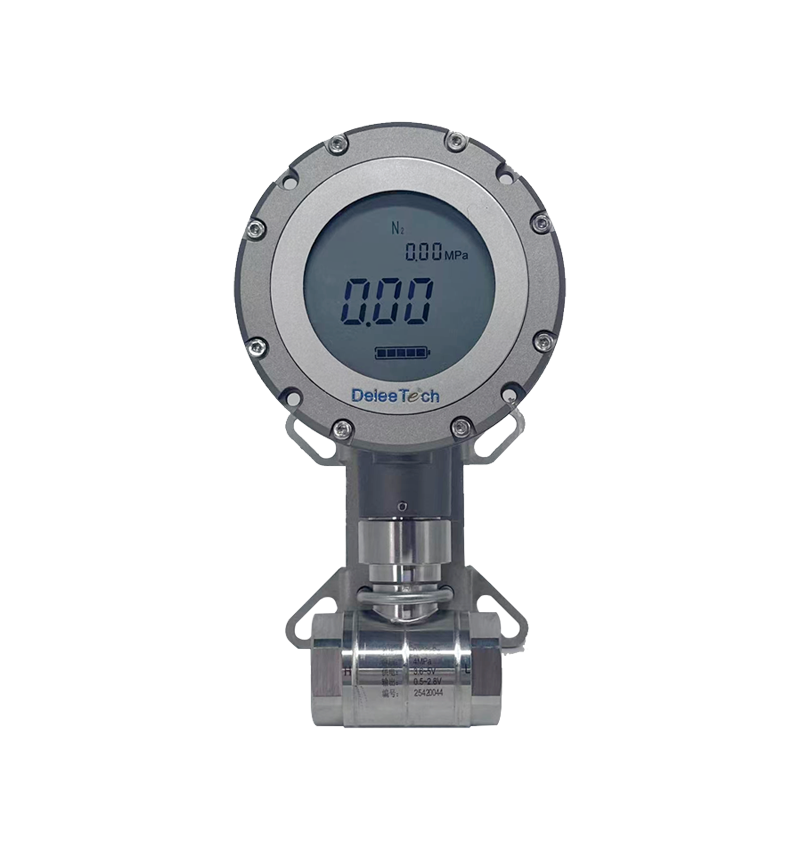
How to install the SMTD wireless remote differential pressure gauge in the storage tank by yourself?

Watch the video tutorial
Scan the QR code on the left with WeChat or your browser to watch the related video.
Scan the QR code on the left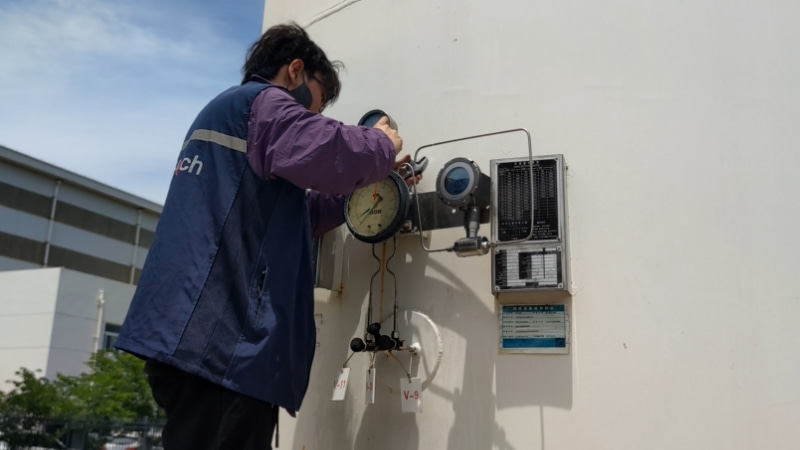
Installation process of the SMTD wireless remote differential pressure gauge on the basis of the existing mechanical gauge in the storage tank:
Required accessories include: one SMTD differential pressure gauge, a set of ferrule fittings, a fixing bracket and two pressure tubing lines. Depending on the on-site pipeline situation, a tee fitting can also be selected, along with a pipe bender, pipe cutter, wrench, PTFE tape, and a soapy water solution for leak testing, which needs to be prepared on site.
Before construction, ensure safe depressurisation by closing the storage tank liquid valve and gas valve, opening the balancing valve, and thoroughly releasing pressure. If there is no balancing valve, carry out depressurisation according to the on-site conditions, and confirm that the pipeline is de-pressurised before installation.
Step one: Begin by installing the gauge's bracket. Depending on the tank's situation, choose either hole mounting or clamp mounting. After securing the bracket, fix the SMTD differential pressure gauge onto the bracket. Then wrap PTFE tape around the ferrule fittings to be installed on both ends of the gauge, install them at both ends, and tighten the screws. The H end on the left side of the SMTD differential pressure gauge connects to the tank's liquid phase pipe, and the L end on the right side connects to the tank's gas phase pipe; reversing is strictly prohibited.
If there are plugs on the liquid phase pipe and gas phase pipe of the tank, we can directly install the pressure transmission pipe connected to the differential pressure gauge; if there are no plugs, we need to cut the pipe to install a tee, and then connect the pressure transmission pipe. Currently, if there is a plug, the ferrule joint can be installed directly. Next, start connecting the pressure transmission pipe, choosing bending and cutting tools based on the site conditions for installation. Important reminder: before installation, be sure to check the sequence of the internal components of the ferrule to ensure they are not installed incorrectly or reversed. After the pressure transmission pipe is connected, first open the tank's liquid phase valve, then the gas phase valve, and then close the balance valve. After the liquid phase and gas phase pipes are installed, start leak testing. The testing method is to use a solution mixed with detergent and water to check whether there are bubbles at the pipe connections. If there are bubbles, tighten the connection again and test once more; if there are no bubbles, it indicates that there is no leak at the pressure transmission pipe connection. This completes the entire installation process of the SMTD differential pressure gauge.